
Creating an image gallery
There are two display methods for the image gallery you create. See the Image gallery examples.
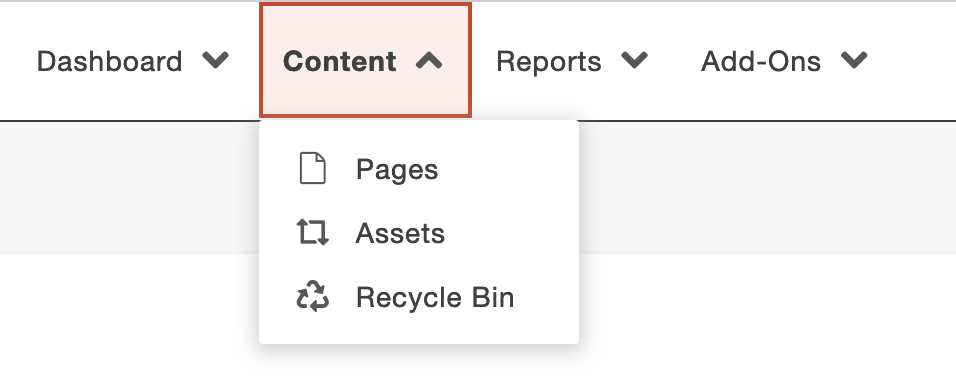
- On the Content tab, click Assets.
- Click the green New button. Click Image Gallery.
Note: If you don't see the Image Gallery option, contact webservices@k-state.edu.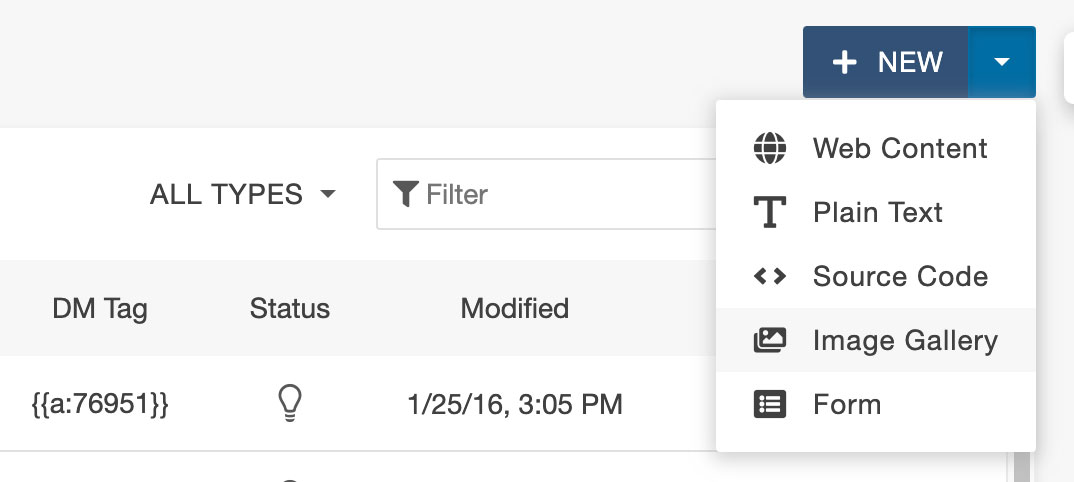
- Fill out the Asset Info
- Asset Name: short, clear name
- Description: description of the gallery
- Tags: keywords to help find the gallery
- Lock to site: leave as default setting
- Leave the Access Settings as default.
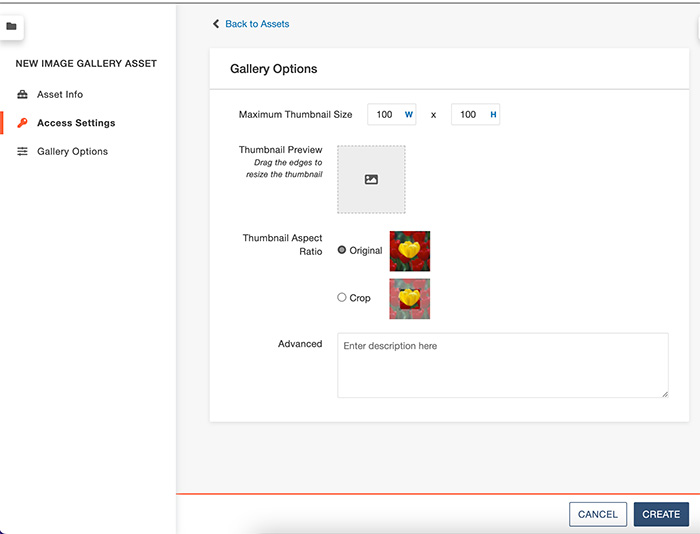
- Gallery Options
- Set the thumbnail size in pixels. You can leave this as the default 100 x 100. The Thumbnail Preview gives you an idea of how big it will be.
- Select the Thumbnail Aspect Ratio:
- Original: This selection will reduce the image to a thumbnail-sized square. If your images are already square, this is a good choice.
- Crop: This selection will crop a thumbnail-sized square out of the middle of the image. If your images are rectangle, this is likely the better option.
- Advanced field: To create a gallery that starts with a single image on the page, then opens a lightbox that allows you to click through a set of images, add this content: showfirst=true;
See an example of the types of galleries.
- Click the blue Create button. Note: No images have been added at this point.
- After you click Create, the Images area will appear.
- You can either drag images from your desktop into the window or click the +Add button to select files.
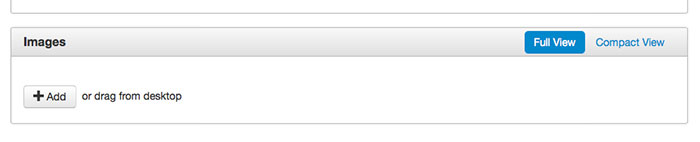
- You can either drag images from your desktop into the window or click the +Add button to select files.
- Images options
- Drag and drop images in the panel to reorder them.
- Click the X in the upper-right corner to delete an image.
- Add more images through drag-and-drop or the +Add button.
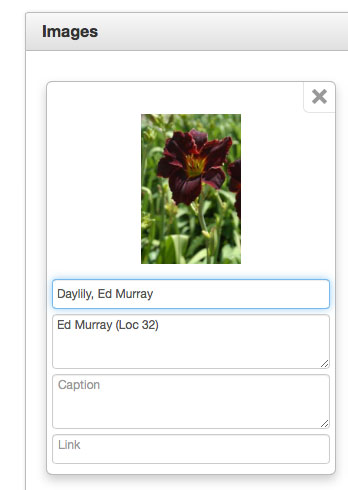
- Once you've added images to the Images panel, add image attributes
- Title: Simple title of the image. Appears as ALT text.
- Description: Longer description if needed.
- Caption: Not used, use description.
- Link: Not used.
- Click Save. Depending on the number of images, this may take some time. Wait until you see the green message that the gallery was saved.
- Click the green Publish button at the top of the page. This too may take some time depending on the size of the gallery. It's worth the wait!