Editing Assets
Editing an Asset is similar to editing a Page, with one major difference. The user has to physically check out the file before they are able to edit the content or properties of the file. To check out the file, click the lightbulb. A file is checked out to you if the lightbulb is yellow.
Once the file is checked out the user sees all of the Asset Actions Toolbar:
![]()
Editing Asset Content
Editing options vary by the type of Asset. A Web Content Asset has an abbreviated version of the system's main editing toolbar. The Plain Text Asset does not include a toolbar. Forms and Image Galleries have editing tools specific to each type.
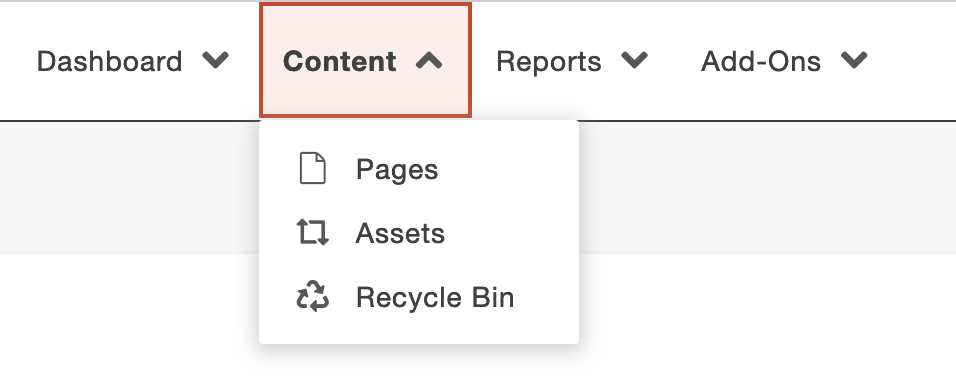
- On the Content tab, click Assets.

- Locate the Asset you want to edit by filtering.
- Check out the file by clicking the lightbulb in the Status column or click the name of the asset and then click the lightbulb in the Asset Actions Toolbar.
- Once the file is checked out, Edit becomes an option.

- Make the required changes to the asset and Save. Save and Cancel are options in the lower right corner of the footer.
- Publish the asset. Once modified, an asset must be published in order to update the page(s) using it. Publishing can be immediate or scheduled to occur in the future.
Edit Asset Properties
When an asset is checked out, the user's optionsÎ include the ability to edit an asset's properties. A user can perform this action by navigating to the General Properties screen by clicking the Properties button in the Asset Action toolbar:
![]()
The features and functionality available for properties include:
- General Properties
- Access Settings
- Log
General Properties
The General Properties panel allows users to edit the basic metadata properties of the asset:
Asset Name: Descriptive, user-friendly name assigned to the asset during the creation process.
Description: This description of the asset's functionality can be useful as it is shown when inserting the asset into a page.
Tags: Tags can be added to make assets easier to find when filtering. Define new tags or use existing tags.
Lock to Site: Assets are available to all CMS sites at K-State unless this checkbox is selected.
Asset Access Settings
The Access Settings panel allows for the configuration of the group whose members have permission to edit the asset.
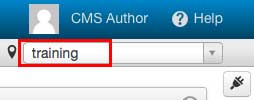
Access Group: Chose your group from the list. The name of your site's access group usually matches the site name in the dropdown in upper right of the CMS window.

Log List View
The Log provides users with a list view of all previous actions performed on the currently selected asset.
