Inserting image on page
The Insert/Edit Image tool is available on the toolbar for the Editor.

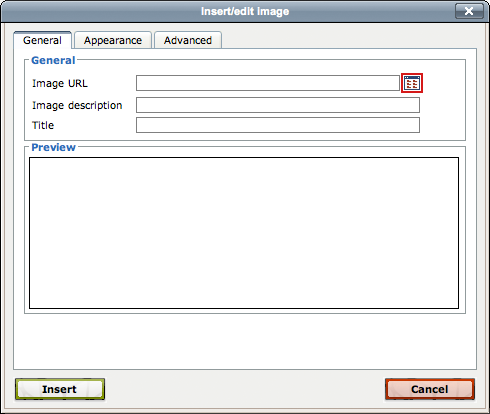
The tool can be used to:
- Browse to an previously uploaded image in order to insert it into the content
- Provide Image Description (required) and Title
- Preview an image
- Align an image
- Add space around an image
Inserting an image
- Click the green Edit button for the region where you want to add an image. See Editing a page for more information.
-
Carefully position the cursor where the image should be inserted and click the Insert/Edit Image icon. This shows the Insert/Edit Image modal.

-
Click the Browse button to insert an image already uploaded and published.
- The Select Image modal is shown.

-
An image can be selected by navigating the folder structure or filtering by filename. Double-click to immediately select and insert or select and click Insert.
- Enter a Image Description. This alternative text is required in order to insert the image. The text should describe the image or purpose of the image in a way that will be helpful if it can't be seen.
- Click Insert or the Appearance tab to set alignment, size, and spacing.
Appearance Tab
The Appearance tab allows for configuring the alignment, size, and spacing of the image.
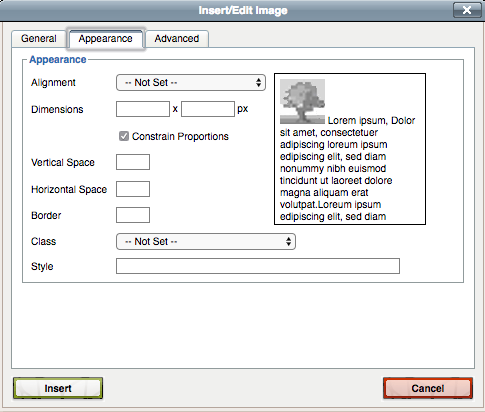
The following settings can be configured:
Alignment
Sets the alignment of the image against the text. Most used options include:
-
Not Set - Best for when an image is between two lines or paragraphs of text. Images on this page do not have an alignment set.
-
Left - The image is set to the left of the text with wrap-around.
- Right - The image is set to the right of the text with wrap-around.
Dimensions
We recommend width and height be edited before uploading the image into the CMS, but display size can be fine-tuned here. The Constrain Proportions checkbox can be selected in order to keep the same proportions of the original image.
Vertical Space
Sets the amount of space (in pixels) between the top and bottom sides of the content area and the image. We recommend using a consistent amount of space across your whole website.
Horizontal Space
Sets the amount of space (in pixels) between the left and right sides of the content area and the image. We recommend using a consistent amount of space across your whole website.
Style
Based upon the options selected from the Alignment drop-down and spacing, the styling will auto-complete. Optionally, styling may be manually copied and pasted from another image to match the alignment and other features.
Apply Appearance settings
- Click Insert when appearance items have been set.
Additional Information
- To edit the image after it has been inserted, simply click the image and click the Insert/Edit Image icon.
- Adding an image description is important for accessibility, as it provides text for screen-readers or other instances where the image is unable to be viewed.
- Don't forget all images must be published after upload. If they have not been published they will appear broken in the page preview.