HOW TO: Capture your desktop
The Mediasite platform offers a browser-based tool called Mediasite Capture for recording any combination of your computer's desktop, webcam and microphone. Since the capture tool runs inside your computer's web browser, no installation of any additional software is required.
Video: How to use Mediasite Capture (4:37)
-
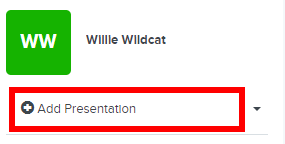
From within your My Mediasite portal, select + Add Presentation.
-
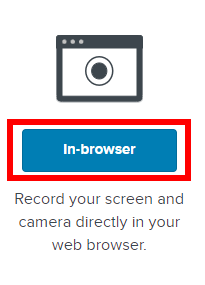
Under Record Video, select In-browser.
-
Type a name for the presentation and an optional description.
-
Under Destination, select which user channel or shared folder in which you wish to place the recording. Alternatively, you can leave the presentation in your personal "Drafts" folder.
-
Select Create and Launch.
The Mediasite Capture application will launch in your web browser.
-
Select the type(s) of sources you want to record: just your computer's display, the display and your webcam, or just your webcam.
Note: Your web browser may prompt you to allow the recording of your microphone, webcam, and/or screen. These permissions are required to create a recording.
-
If you opted to capture your display, select which browser tab, application window, or display screen you wish to record. If you choose a tab or an entire screen, you can optionally choose to record the computer's audio by selecting Also share tab/system audio.
Note: The option to record a browser tab or your computer's sound may be unavailable when using certain combinations of operating systems and browsers. See the system requirements for details.
-
If you opted to capture your camera, select your webcam from the list of available devices using the gear icon in the bottom right corner of the camera video preview. Adjust other settings like the aspect ratio, camera image mirroring, and background blur as needed.
-
Select your desired microphone device from the microphone drop-down menu located to the right of the video preview. An audio meter preview allows you to visually confirm Mediasite Capture is receiving sound from your microphone.
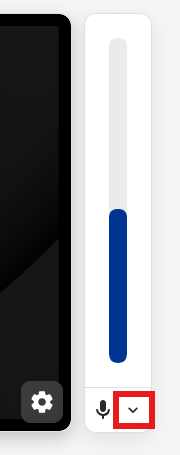
Alternatively, if you do not want to record your microphone, you can select the microphone icon to mute your microphone.
-
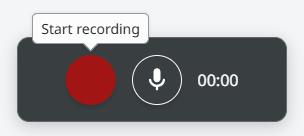
Review the preview of your recording source(s). When you are ready to begin recording, select the red Record button below the preview.
-
While recording, you can select the pause button to pause the recording. Once you are done recording, press the red button to stop recording.
-
Review the finished recording using the play button. To discard the recording and record again, select the option at the bottom labeled Discard and record again.
If you are satisfied with the recording, you can optionally trim the beginning and end of the recording at the current playhead position using the two trim buttons.

Once you are ready to save the recording to the Mediasite server, select Upload.
-
Once the upload is complete, you may close the browser tab and return to the presentation summary in My Mediasite.
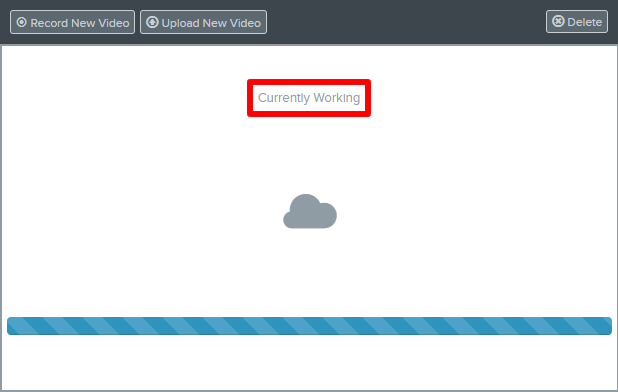
After the upload completes, the recording will begin processing on the server. You may need to refresh/reload the page in your web browser to refresh the status information for the presentation. Please note that larger or longer recordings will require some time to process before they are ready for review.
For more information about how to use the browser-based Mediasite Capture tool, see the product documentation.
After you have finished recording
Once processing is complete, your recording will be available in your My Mediasite portal. Review the finished recording, and if you approve, be sure to set the visibility from Private to Viewable before you share it with others.