Creating a form
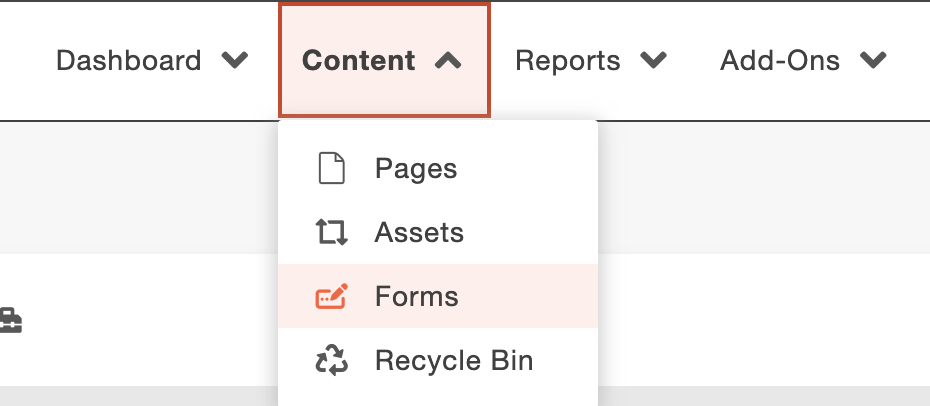
- On the Content tab, click Forms.
- Click the blue +New button.
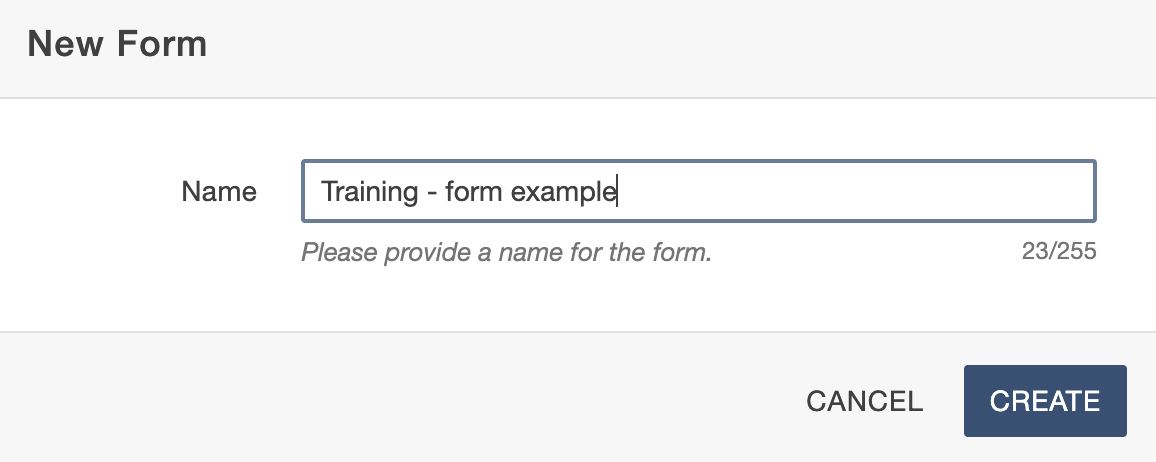
- Give the form a short, unique name. The name should begin with your unit or website's name and be consistent with any existing forms.
Examples: Web Services - support request form or webservices - support request form - Click Create to enter the Form Builder.
Form Builder
The Form Builder opens in a multi-tab interface:
Edit: Form (Builder tab) with drag and drop fields
Properties: Manage title and description and copy embed code. This is also where you can control form-level access to edit the form, launch, and view submissions.
Submissions: View form data (will appear after launch)
Versions: See previous versions, check launch dates, and preview exactly what a form looked like at any point in its history.
Adding form fields
- The Form Elements in the left column are the fields for your form. Drag and drop to add Form Elements to the Elements block.
- Each form element can be customized using the controls in the right-hand panel. These settings determine how the field behaves and what it looks like to users.
- Changed can be saved at this point by clicking the blue Save button in the upper right. Go back to Edit to adjust Form Settings
Form Settings
Control how your form behaves after it is submitted, how email notifications are handled, and what optional messages users see.
- Click the blue Form Settings button in the upper left of the screen. Setting options open on the right side of the screen.
- Use the Success Behavior dropdown to determine what will happen when the form submits successfully. Options are:
- Show Message – Display a friendly confirmation message within the form frame.
- Redirect Page – Sends the user to a custom URL (e.g. a thank you page).
- The Failure Message is the text that displays if for some reason the form does not successfully submit.
- Submit Button Text is the label that appears on the button used to submit the form. Provide text that is an action such as Request webspace, Send feedback, Request information, etc. Using phrases that describe what the user is doing is more intuitive and explanatory.
- Use Email Settings to be notified when a form has been submitted.
- Reply-To Email Address: If you choose to send a "Submission Received" email to the user, this is the email users will reply to if responding. Or you can use noreply@ k-state.edu and the name No Reply - K-State Forms.
- Send Internal Email: Sends notification emails to CMS users when someone fills out the form. Enter one or more email address separated by commas. These recipients will get a notification of the submission, not the submission data.
Submissions can be emailed to people without CMS access by selecting the One-Time Download Link. The email will include an unique link to download a CSV file containing submission data. The link will remain active until it is used or for 7 days after the email is sent. - Send External Email: Sends an email to the person who filled out the form if collected by the form. Choose the field from your form that collects the submitter's email address.
- The Form Settings are saved when you click back into the main panel and Save the finished form fields.
Form access
Go to Properties > Access (at left) to control group access to this one form, including:
- Who can edit the form
- Who can Launch changes
- Who can view submissions for this specific form
- Which site(s) appear as insertion options when adding forms to pages. This should match the site label in the upper right corner of the CMS window.
- This only limits insert capabilities within the CMS. You can still use the embed code on any external webpage that supports JavaScript.
Save changes.
Previewing and Launch
After you've added fields and configured your form, you can preview and launch it.
To activate your form and make it available for use, click Launch.
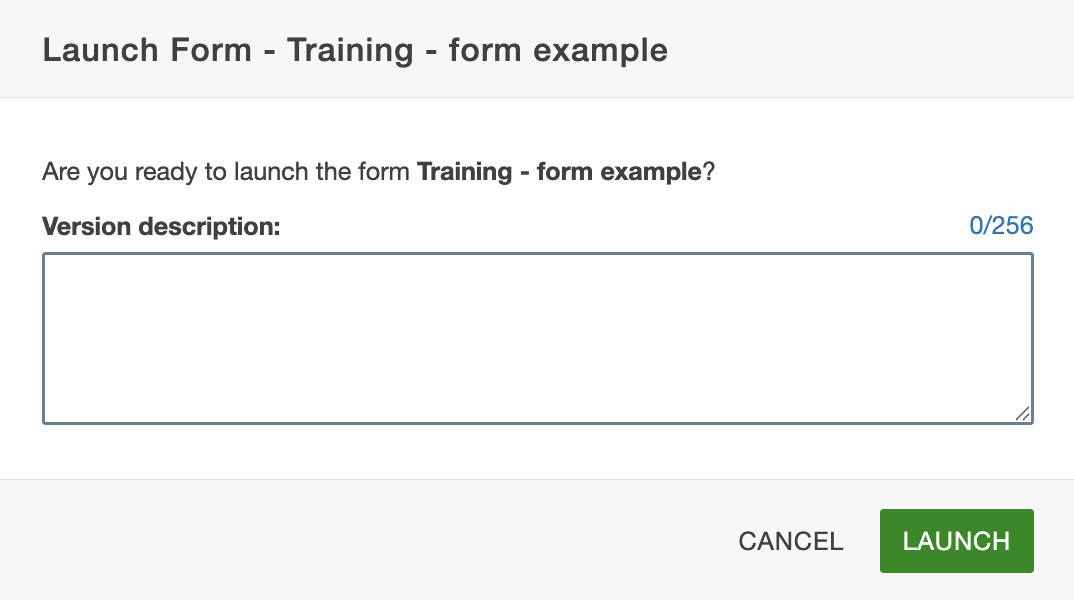
Note: You won't see the submit button in Preview mode. It will only appear once the form is placed onto a public or published webpage.
Next, see Adding a form to your page.