
Academic Affairs and Innovation
Advancing academic strategies, developing and engaging faculty, and supporting robust academic innovation across K-State's academic enterprise.
Academic Affairs and Innovation provides leadership, support and guidance for academic affairs, faculty affairs, and academic innovation across the institution. We ensure a strong foundation is set to support innovative curriculum design and instructional practices, driving the institution toward our Next-Gen K-State strategic imperatives and goals.
Center for Academic Innovation
Whether you're seeking assistance in developing new programs or enhancing existing programs, the Center for Academic Innovation is here to help. From market research that provides a data-informed path forward to program development resources and support, we have you covered.
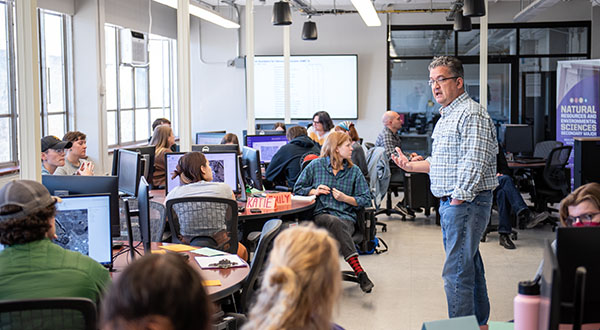
Teaching and Learning Center
Discover the resources and tools available through the Teaching and Learning Center, which offers numerous resources for faculty development.
Advancing the academic mission of Kansas State University requires us to invest in innovation and excellence, offer opportunities for ongoing leadership development and growth, and recognize the successes and achievements of our faculty and staff.
View university policies, guidelines, handbooks and resources of particular importance to our academic faculty and staff, including the academic calendar and department/unit head directory.